Your Shopping Cart is empty.
View Cart (0 Items)
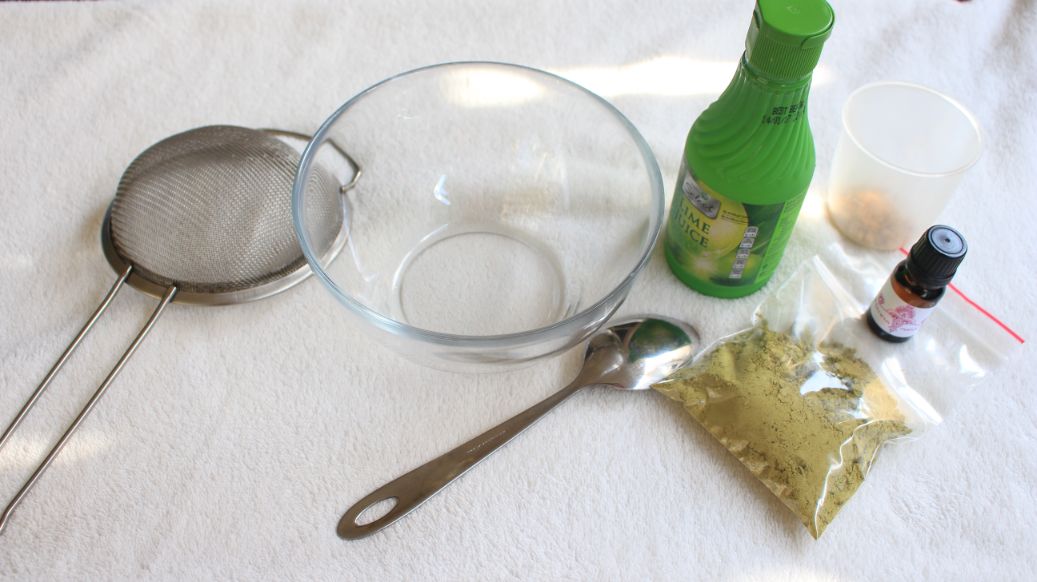
In this example I am using our DIY Henna powder kit (regular). For this preparation
you will need the following:
1. Henna paradise's DIY henna powder kit(regular/large)
2. Sifter
3. Spoon
4. Lemon juice (you can use normal lemon juice without pulp)
5. A bowl
![0](https://hennaparadise.com.au/wp-content/uploads/2016/01/0.jpg)
PREPARATION
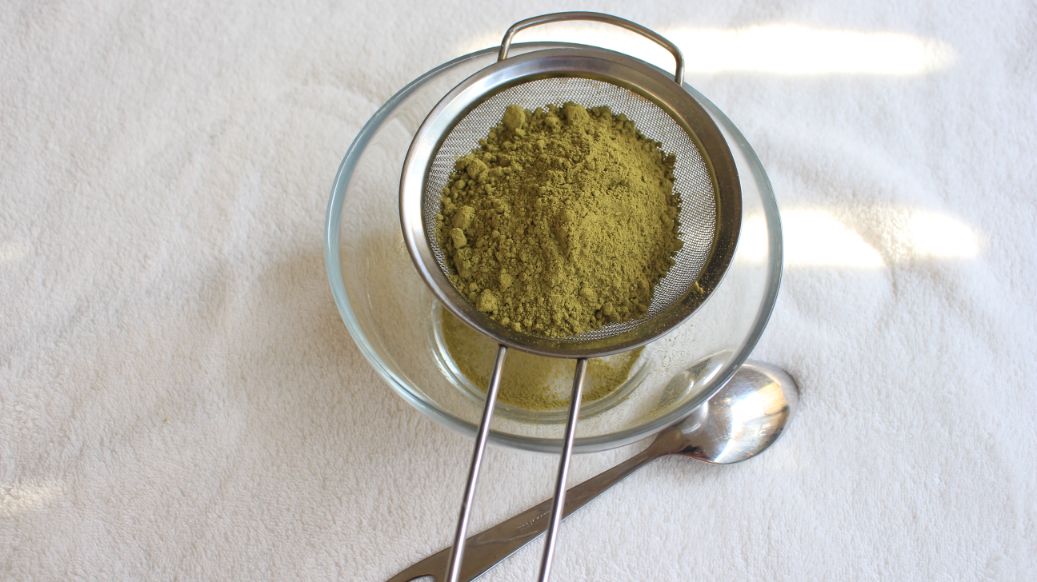
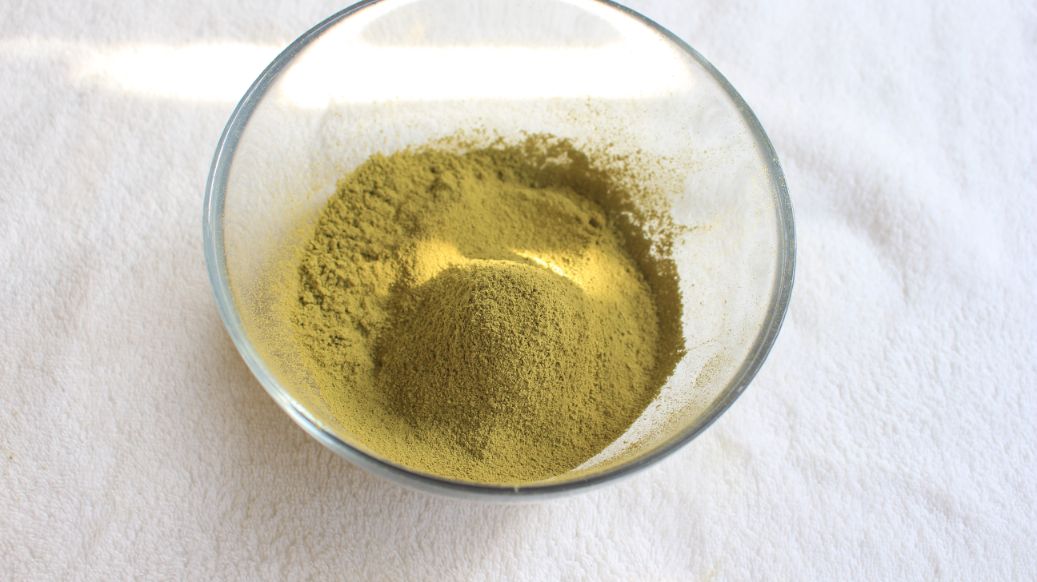
1. Sift the henna powder into a bowl (though our henna powder is triple sifted, we recommend to sift before use in order to avoid lumps and to make the mixing process easier)
![1](https://hennaparadise.com.au/wp-content/uploads/2016/01/1-1.jpg)
![2](https://hennaparadise.com.au/wp-content/uploads/2016/01/2-1.jpg)
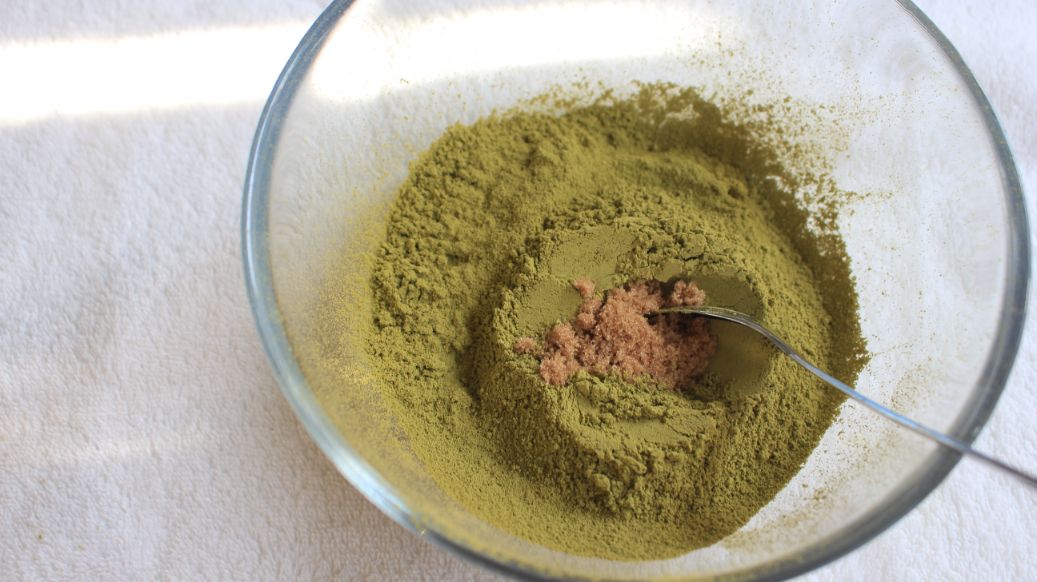
2. Add a teaspoon (2 teaspoons for large pack) of brown sugar to the sifted henna powder. Mix it well.
![3](https://hennaparadise.com.au/wp-content/uploads/2016/01/3-1.jpg)
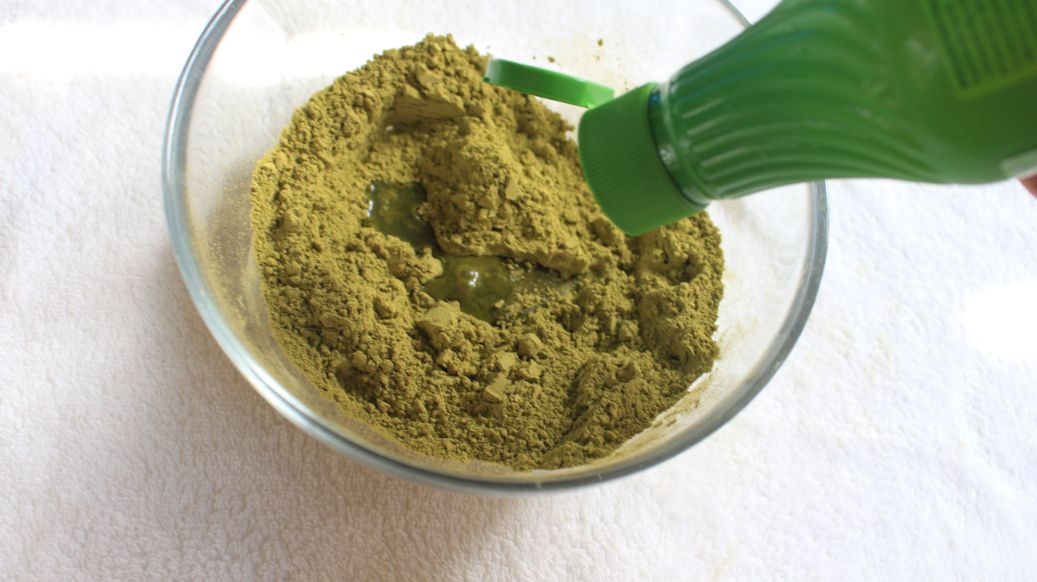
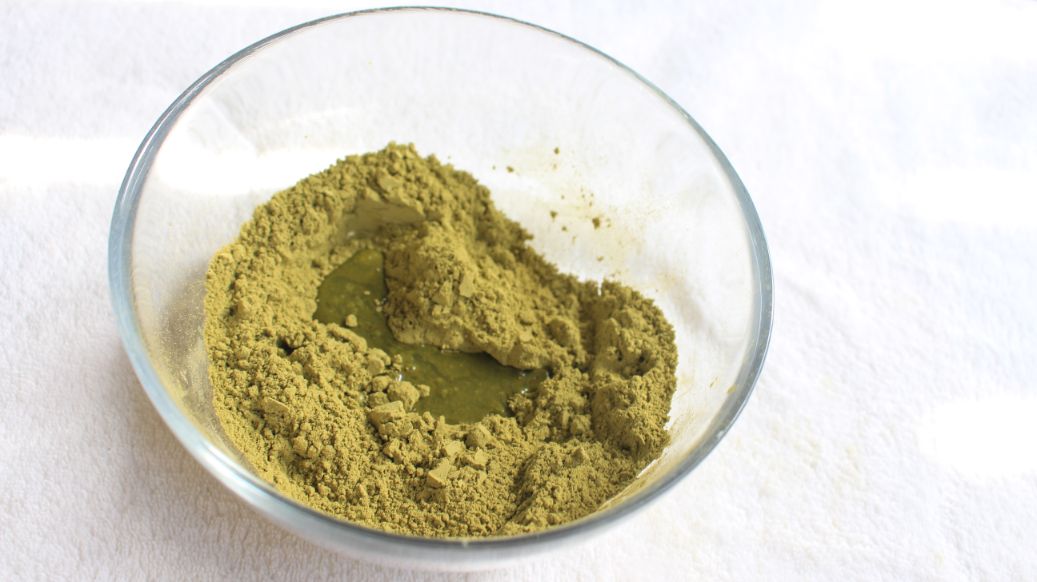
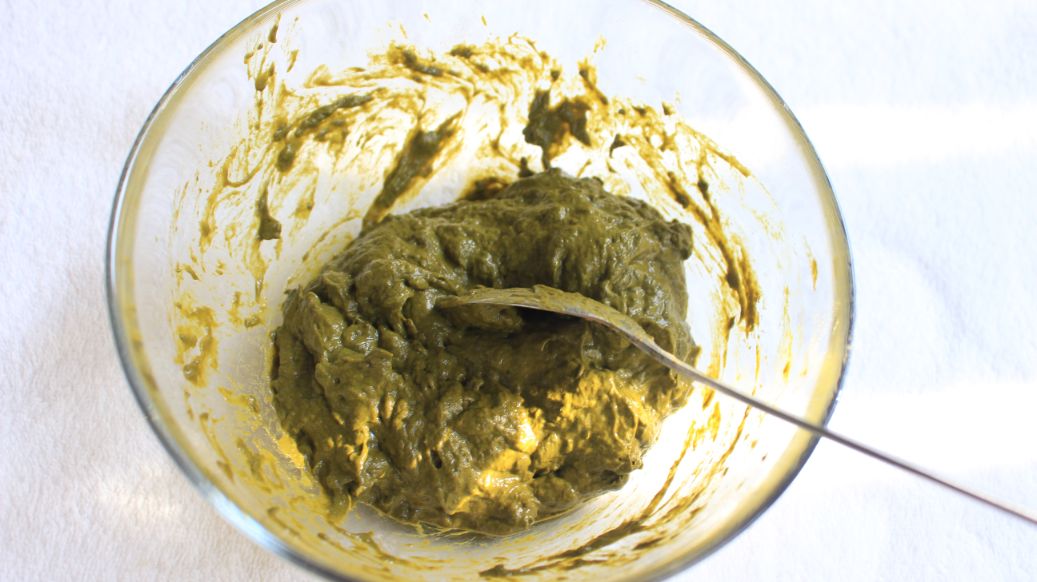
3. Add a small amount of lemon juice at a time and mix it through.
![4](https://hennaparadise.com.au/wp-content/uploads/2016/01/4-1.jpg)
![5](https://hennaparadise.com.au/wp-content/uploads/2016/01/5-1.jpg)
![7](https://hennaparadise.com.au/wp-content/uploads/2016/01/7-1.jpg)
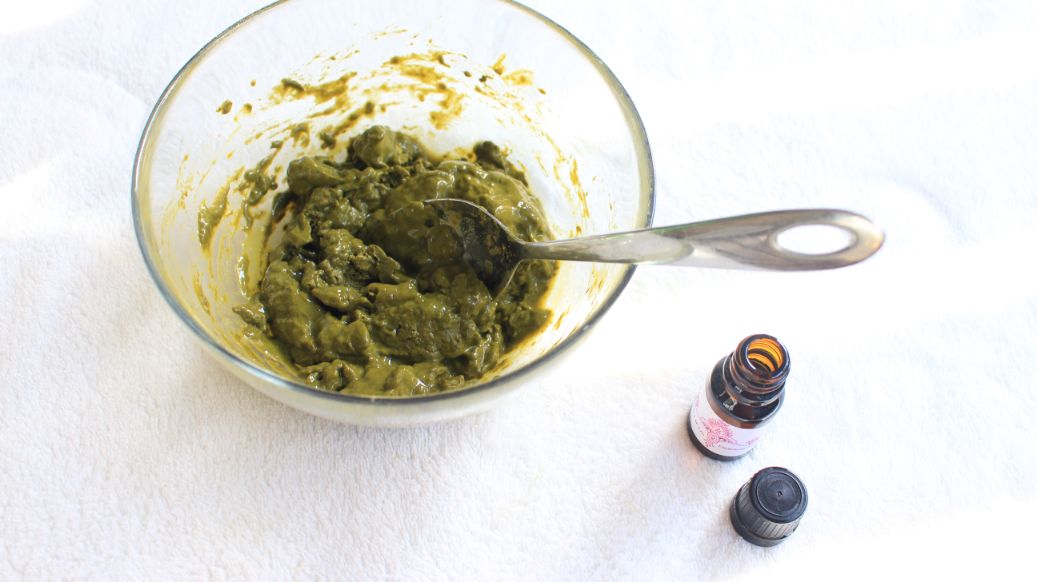
4. Add the essential oil contained in your pack to the mixture. Mix it well.
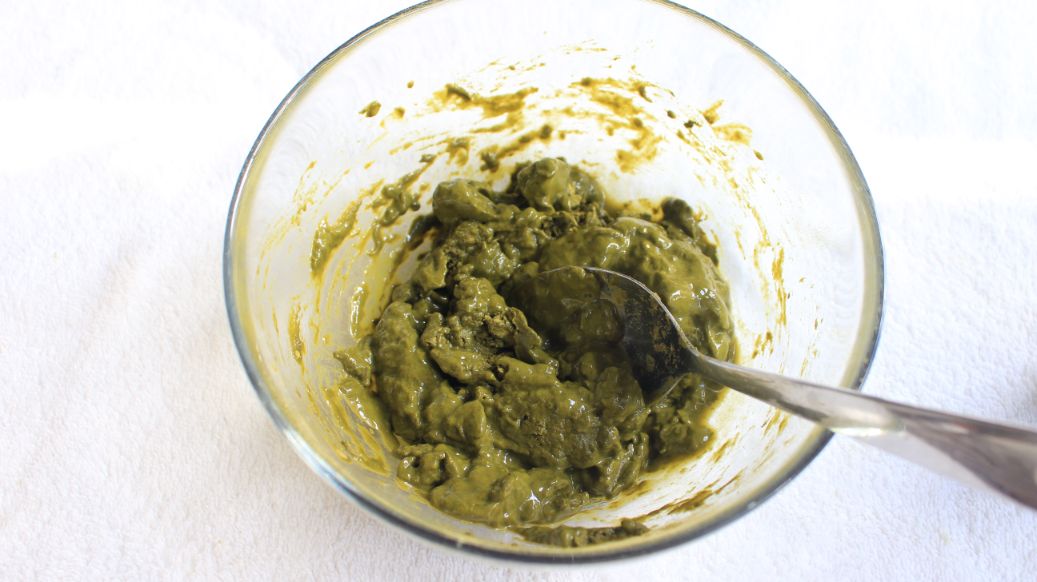
Note: do not panic if the mixture is not smooth enough.
![8](https://hennaparadise.com.au/wp-content/uploads/2016/01/8-1.jpg)
![9](https://hennaparadise.com.au/wp-content/uploads/2016/01/9-1.jpg)
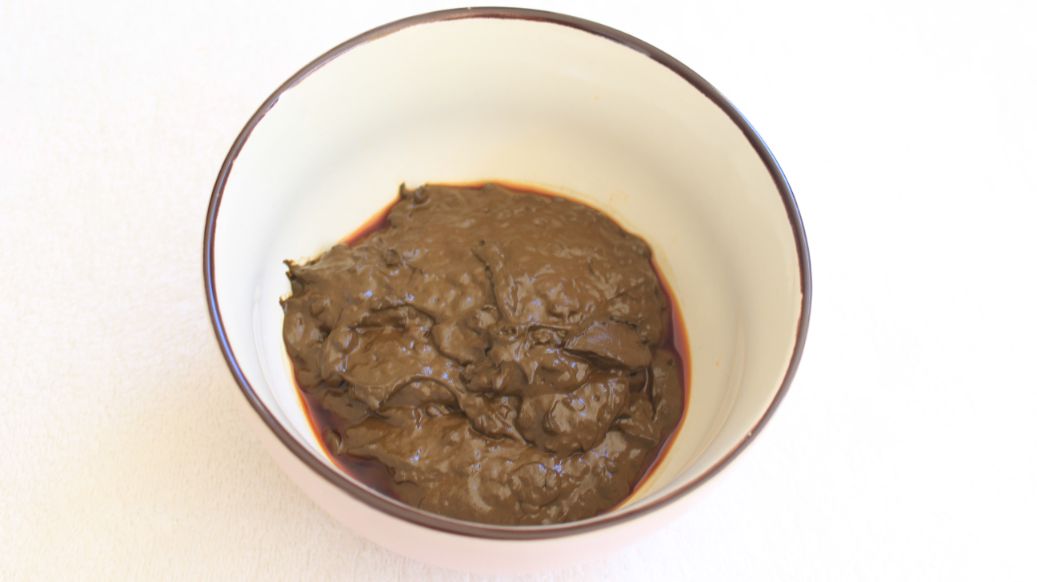
5. Transfer the mixture into a separate bowl and cover it with clear wrap. Keep the bowl in a warm dark place for a minimum of 8 hours in order to make the dye release.
![10](https://hennaparadise.com.au/wp-content/uploads/2016/01/10-1.jpg)
![12](https://hennaparadise.com.au/wp-content/uploads/2016/01/12.jpg)
6. Remove the wrap from the bowl.
![13](https://hennaparadise.com.au/wp-content/uploads/2016/01/13.jpg)
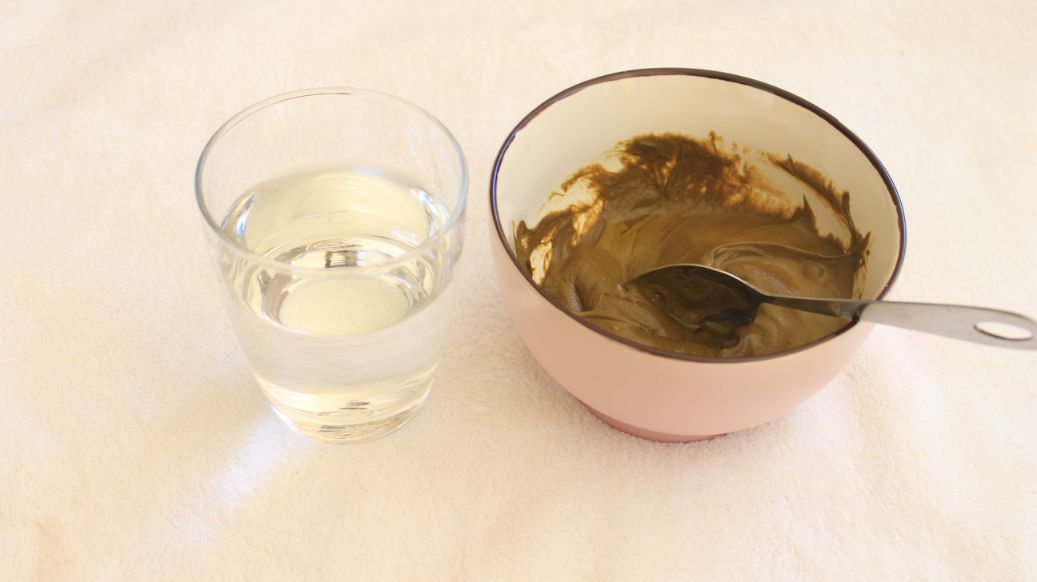
7. Mix it through and add a little water if needed to get the consistency of toothpaste.
![15](https://hennaparadise.com.au/wp-content/uploads/2016/01/15.jpg)
![18](https://hennaparadise.com.au/wp-content/uploads/2016/01/18.jpg)
8. Transfer the mixture into a carrot bag or a ziplock bag and secure it with a rubber band.
![19](https://hennaparadise.com.au/wp-content/uploads/2016/01/19.jpg)
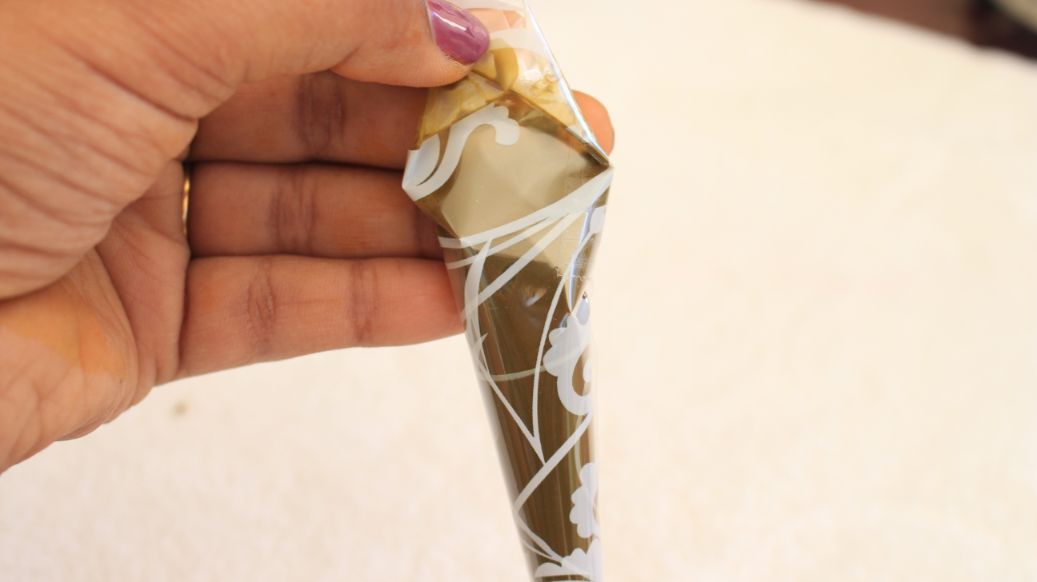
9. Cut the edge of the bag as shown in the picture and fill the henna applicator cone.
![20](https://hennaparadise.com.au/wp-content/uploads/2016/01/20.jpg)
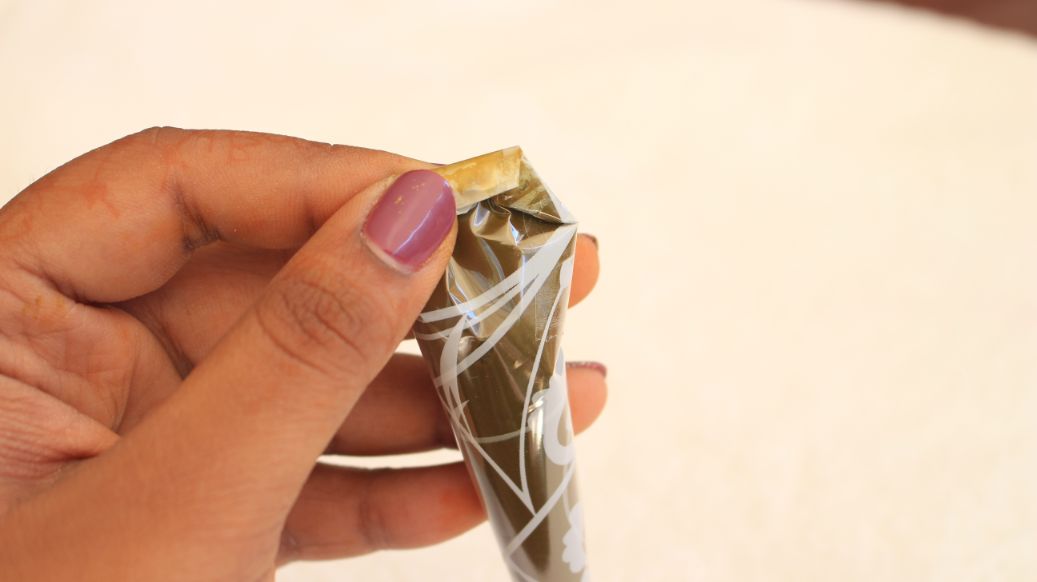
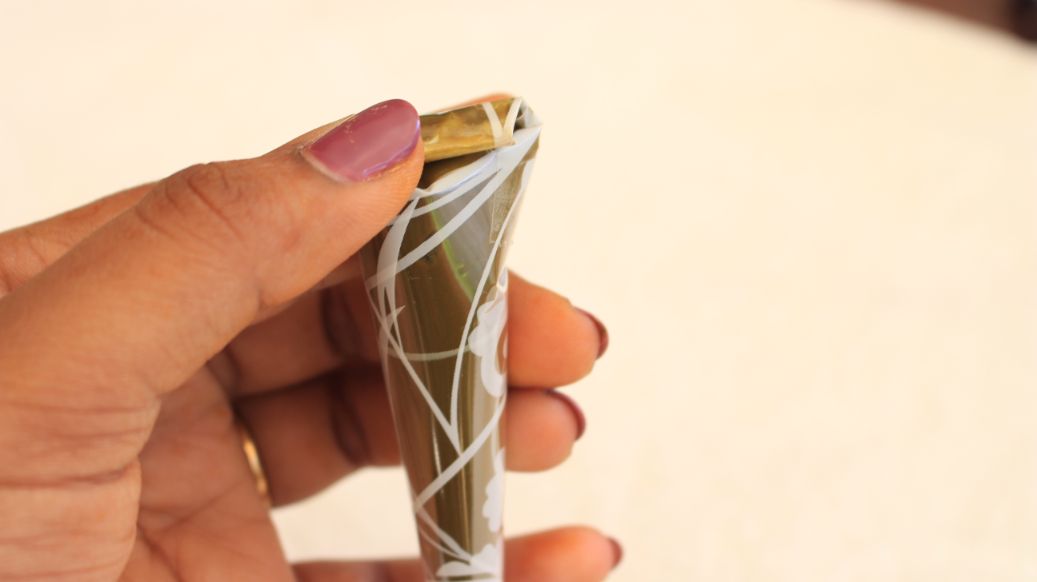
10. Add a small amount of mixture at a time and squeeze it through the end. do not fill the cone completely. Leave enough room to pack the cone as shown in the picture below.
![21](https://hennaparadise.com.au/wp-content/uploads/2016/01/21.jpg)
![22](https://hennaparadise.com.au/wp-content/uploads/2016/01/22.jpg)
11. Fold both sides first and then start folding from the top tightly. Secure the pack with clear plastic tape at the end.
![23](https://hennaparadise.com.au/wp-content/uploads/2016/01/23.jpg)
![24](https://hennaparadise.com.au/wp-content/uploads/2016/01/24.jpg)
![25](https://hennaparadise.com.au/wp-content/uploads/2016/01/25.jpg)
![26](https://hennaparadise.com.au/wp-content/uploads/2016/01/26.jpg)
![27](https://hennaparadise.com.au/wp-content/uploads/2016/01/27.jpg)
![28](https://hennaparadise.com.au/wp-content/uploads/2016/01/28.jpg)
![29](https://hennaparadise.com.au/wp-content/uploads/2016/01/29.jpg)
12. You are now ready to create Henna. we would recommend you to doodle on paper before you apply it to the skin. Enjoy!
![30](https://hennaparadise.com.au/wp-content/uploads/2016/01/30.jpg)